
You can use DaVinci Resolve to add a broad variety of effects to your movies and films. Consider the software to be a collection of tools wrapped into one, from video editing to color correction to composting, each with its website. As a result, the DaVinci resolve VFS effects you may employ are determined by the page you’re on.
1. Transitions between videos
We’ll start with video transitions to get things started! Dissolve, Iris, Push/Slide, Shapes, and Wipes are just a few of the transitions available in DaVinci Resolve. To see what’s available, just click on the Effects Library and turn the video transitions on and off.
The Cross Dissolve is the typical transition, which is indicated by a red bar beside it. If you ever want to change the standard transition to anything different, just choose a new transition, right-click it, and select Set as Standard Transition. You may also add a transition to your Favorites at the bottom of the Toolbox by clicking the star underneath it.
- To add a transition to the beginning or end of a clip, right-click on the clip’s edge, then choose one of the four-time durations from the drop-down menu.
- To add a transition to a clip (or many clips) in the timeline, go to Timeline > Add Video Only Transition, then pick the clip. To add a video transition, press Option (or Alt) + T on your keyboard.
2. Transitions in audio
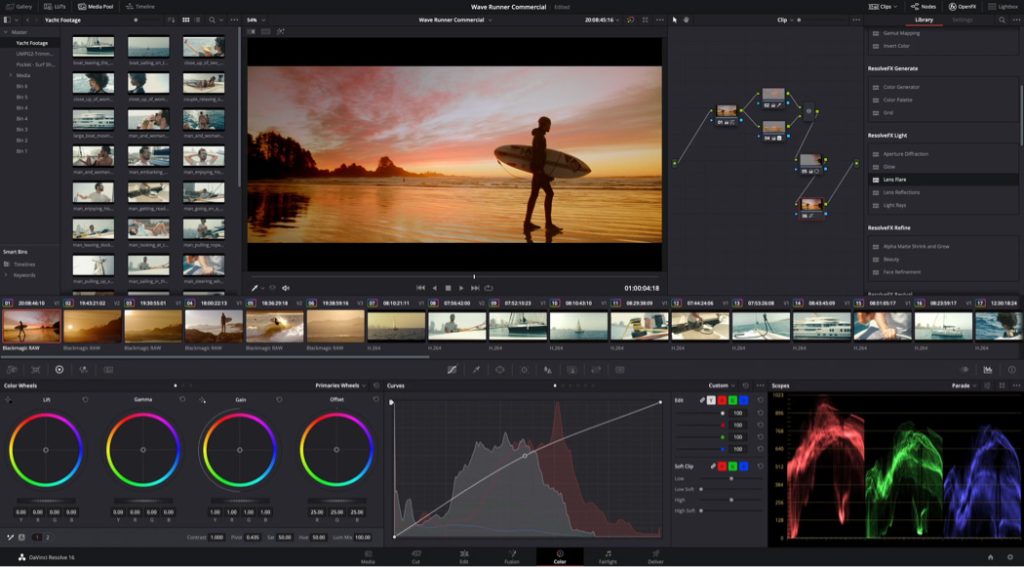
Audio is supported by DaVinci Resolve, and you may work with it on the Cut and Edit sites, as well as on the Fairlight website, which includes a special page for advanced audio processing. It includes audio transitions as well as a wide variety of audio effects. Third-party audio effects may also be installed. Video transitions and filters are used in the same manner as audio effects. Effects and transitions are placed at the beginning and end of a clip.
- Right-click on the clip’s edge, then choose one of the four-time durations. The transition may also be dragged.
- Choose the clip, then right-click on the transition and select Add to Selected Edit Points and Clips from the menu that appears. You can also create an audio transition by going to Timeline > Add Audio Only Transition or by pressing Shift + T.
3. Headings
The Titles category is pretty simple, and it’s mostly used for non-animated titles. Text+ is an exception since it features animated text choices for adding amazing effects to your text. Keep in mind that the Lightning emblem indicates that the clip is a Fusion clip, which allows motion blur. When dealing with titles, motion blur is necessary to move to appear more genuine.
- DaVinci resolve VFS Resolve has a useful set of presets for making professional titles and lower thirds.
- Choose a title for your video project that you wish to include.
- Drag and drag the title to the timeline’s desired location.
- Customize the Inspector’s title.
- If you animated the text using a Text+ or Fusion Title, go to the Settings tab and pick Motion Blur from the drop-down menu.